Here is the process and the fruits of my labour.
Front Caliper before overhaul
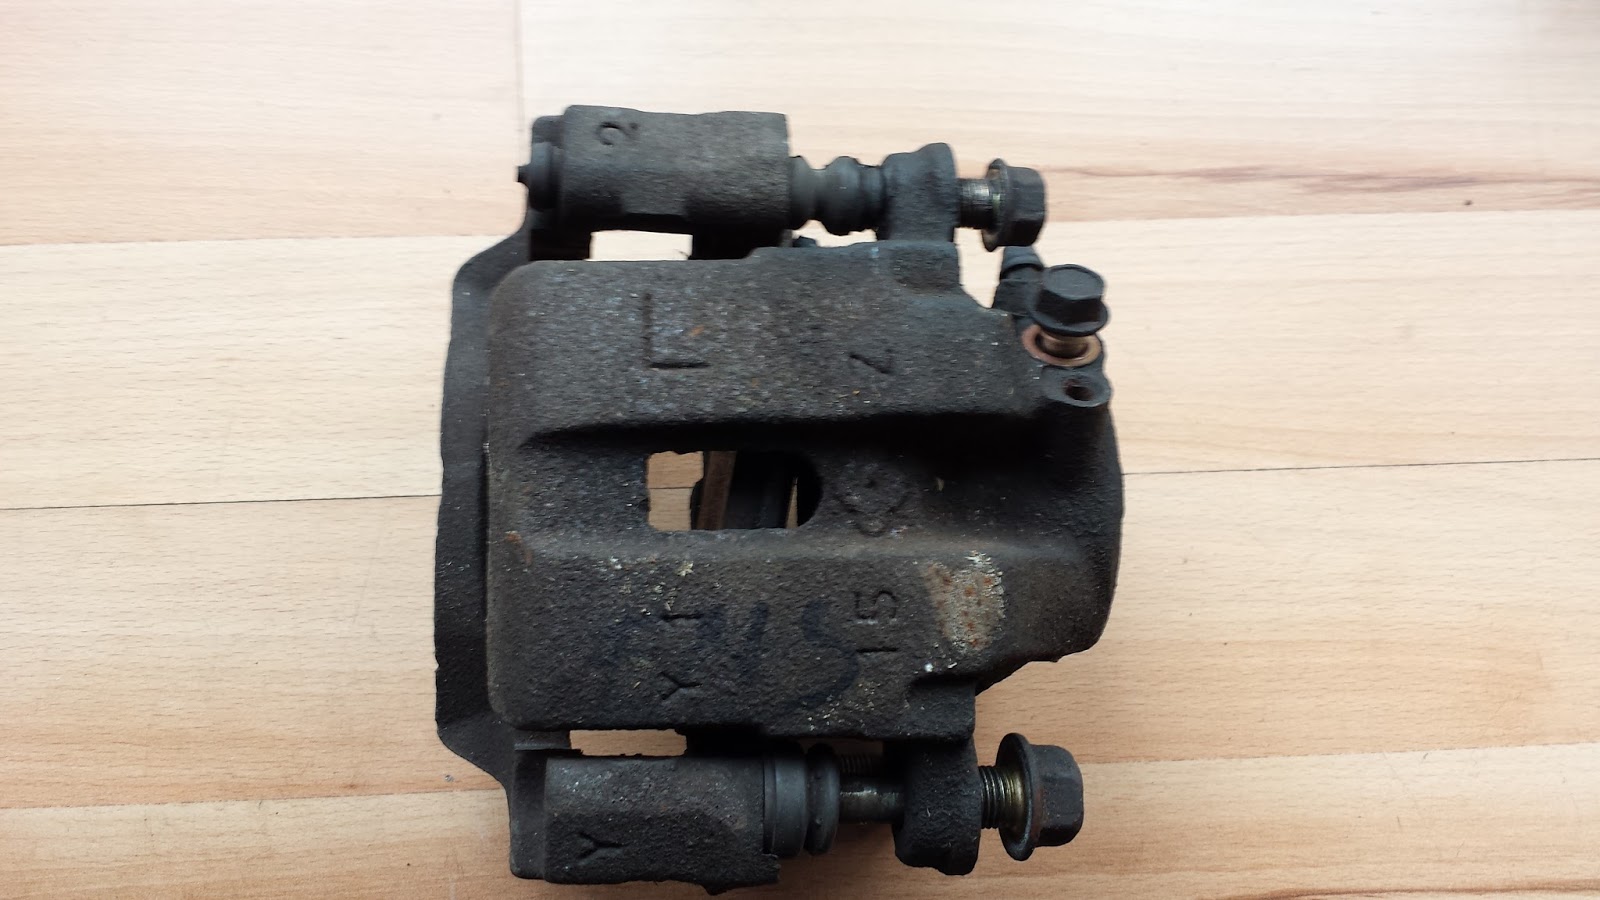
Rear Caliper before overhaul

All Calipers after a good clean up

Front Caliper strip down
Caliper bracket slides off of guide bolts

Bracket bolts removed

Bleed Nipple removed

Guide bolts removed and Caliper Piston.
TIP: If the Caliper piston can't be pulled out, use compressed air where the brake line goes, but re insert the bleed nipple and tighten. Make sure you place a piece of wood or cloth in the opening where the piston comes out and keep fingers clear. Give bursts of air and wait a few moments between each and the piston will slowly work itself out.

Once the piston is removed, you will find two seals, one that is a dust shield that goes around the neck of the piston and the other in the piston housing.
Front Calipers painted and ready for new seals

Caliper Overhaul kit

Front Calipers showing piston dust seal

Front Calipers fully assembled


Rear Caliper before overhaul

Rear Caliper after clean up

Caliper Bracket slides off

Guide bolts, bracket bolts, Bleed Nipple and Banjo bolt removed.
To remove the spring, i used flat nose pliers with ease.
In the You Tube at the end of this blog, the guy had trouble, don't know why.

Ok, here is the bit that some people get stuck on, removing the Caliper Piston.
Just above the bolt the is visible in the pic below is another bolt. Undo it.

Bolt removed.
Now you have access to the Torx screw (T25 i think) so that you can wind the piston out.

Turn CLOCKWISE and you will see the piston coming out.
When you reach the point that turning no longer moves the piston, pull it out by hand. Don't worry, nothing will fall or shoot out.

Piston removed. You will now have access to the inner seals.

Rear Calipers Fully assembled


No comments:
Post a Comment