Sunday 26 February 2017

Spot the DIFF.. erence

Carrying on with the overhauling, here's a bit more.

These are the disc that came on the donor, they were recently fitted, so i thought for now i'd give them a clean. Maybe at the end of the build i'll replace them with some cross drilled ones. 

Yep, there are two more.

Here's the Diff before


And here it is after and modified


Here are some pics on how i set up the diff to cut off the wings and mark the fixing holes.

I set up a string line along the length of the chassis to establish the centre line.


I then used a long rule across the diff flange and adjusted the diff so that the ruler was parallel to the rear chassis rail


My measurement came out at 45mm each side + - 2mm. 
I then used clamps and bungy cord to hold the diff in position. 


As you can see my plumb line isn't exactly in the middle of the flange, but i believe it'll be within tolerance. The flange should be at 90 degrees to the chassis bottom.


Once happy with my positioning, I used an 11mm drill bit to mark the top of the diff to mark for my mounting holes.


Brake Overhaul

OK, so I've been busy degreasing, scrubbing and overhauling the brake calipers so that they look a little more presentable on the car.
Here is the process and the fruits of my labour.

Front Caliper before overhaul


Rear Caliper before overhaul


All Calipers after a good clean up


Front Caliper strip down


Caliper bracket slides off of guide bolts


Bracket bolts removed 


Bleed Nipple removed


 Guide bolts removed and Caliper Piston. 

TIP: If the Caliper piston can't be pulled out, use compressed air where the brake line goes, but re insert the bleed nipple and tighten. Make sure you place a piece of wood or cloth in the opening where the piston comes out and keep fingers clear. Give bursts of air and wait a few moments between each and the piston will slowly work itself out.

Once the piston is removed, you will find two seals, one that is a dust shield that goes around the neck of the piston and the other in the piston housing.


Front Calipers painted and ready for new seals


Caliper Overhaul kit


Front Calipers showing piston dust seal 


Front Calipers fully assembled 


Rear Caliper before overhaul


Rear Caliper after clean up


Caliper Bracket slides off  


Guide bolts, bracket bolts, Bleed Nipple and Banjo bolt removed.  
To remove the spring, i used  flat nose pliers with ease.
 In the You Tube at the end of this blog, the guy had trouble, don't know why.


Ok, here is the bit that some people get stuck on, removing the Caliper Piston.
Just above the bolt the is visible in the pic below is another bolt. Undo it. 


Bolt removed.
 Now you have access to the Torx screw (T25 i think) so that you can wind the piston out. 


Turn CLOCKWISE and you will see the piston coming out.
 When you reach the point that turning no longer moves the piston, pull it out by hand. Don't worry, nothing will fall or shoot out. 


Piston removed. You will now have access to the inner seals. 


Rear Calipers Fully assembled


Thursday 9 February 2017

Gee, I'm Bushed ...

Here's an update as to what I've been up to.

I decided that i would trial fit what i already have.
1, to make sure I have what I've paid for....
2, to make sure it fits and...
3, so that I can work out what I haven't got.

So first plan of attack was to press in the wishbone bushes.


Wishbones laid out


Bushes and essentials ready to go


First thing to do was to prep my vice for the abuse it was about to receive. 

Metal jaws have been replaced with some scrap 18mm ply


TIP: Mine was a cheap 1 ton vice that I purchased years ago. If you don't own one, buy something sturdy with a nice thick handle. By the time i had finished pressing the bushes in the handle resembled a curly wurly and most of the effort need to press the bushes in was due to the handle binding on the vice body where it was bent !
Before I started, I placed a wishbone in the vice and with my dremel fitted with a grinding stone, I gave the inner edge a slight chamfer ( about 1mm ) and a light grind in the bush housing to remove any burrs, this was so that when pressing the bushes in it wouldn't produce a nylon shaving (sorry, no pic, but I guess you know what I mean).
I gave the bush housing and the outer edge of the bush a light coat of copper slip and pressed on ;).

At first I thought it would be easier and quicker to try and press both bushes in at the same time,

 but this way it was hard keeping them square, so I decided to do one bush at a time.

I also found that, as I wound the bush in, if I rotated the wishbone slightly at the same time it would square it up.

Once both bushes were in, I left the pressure on whilst cleaning any excess grease off to make sure they were seated fully.


TIP: Once a small bead of copper slip oozes out your done.


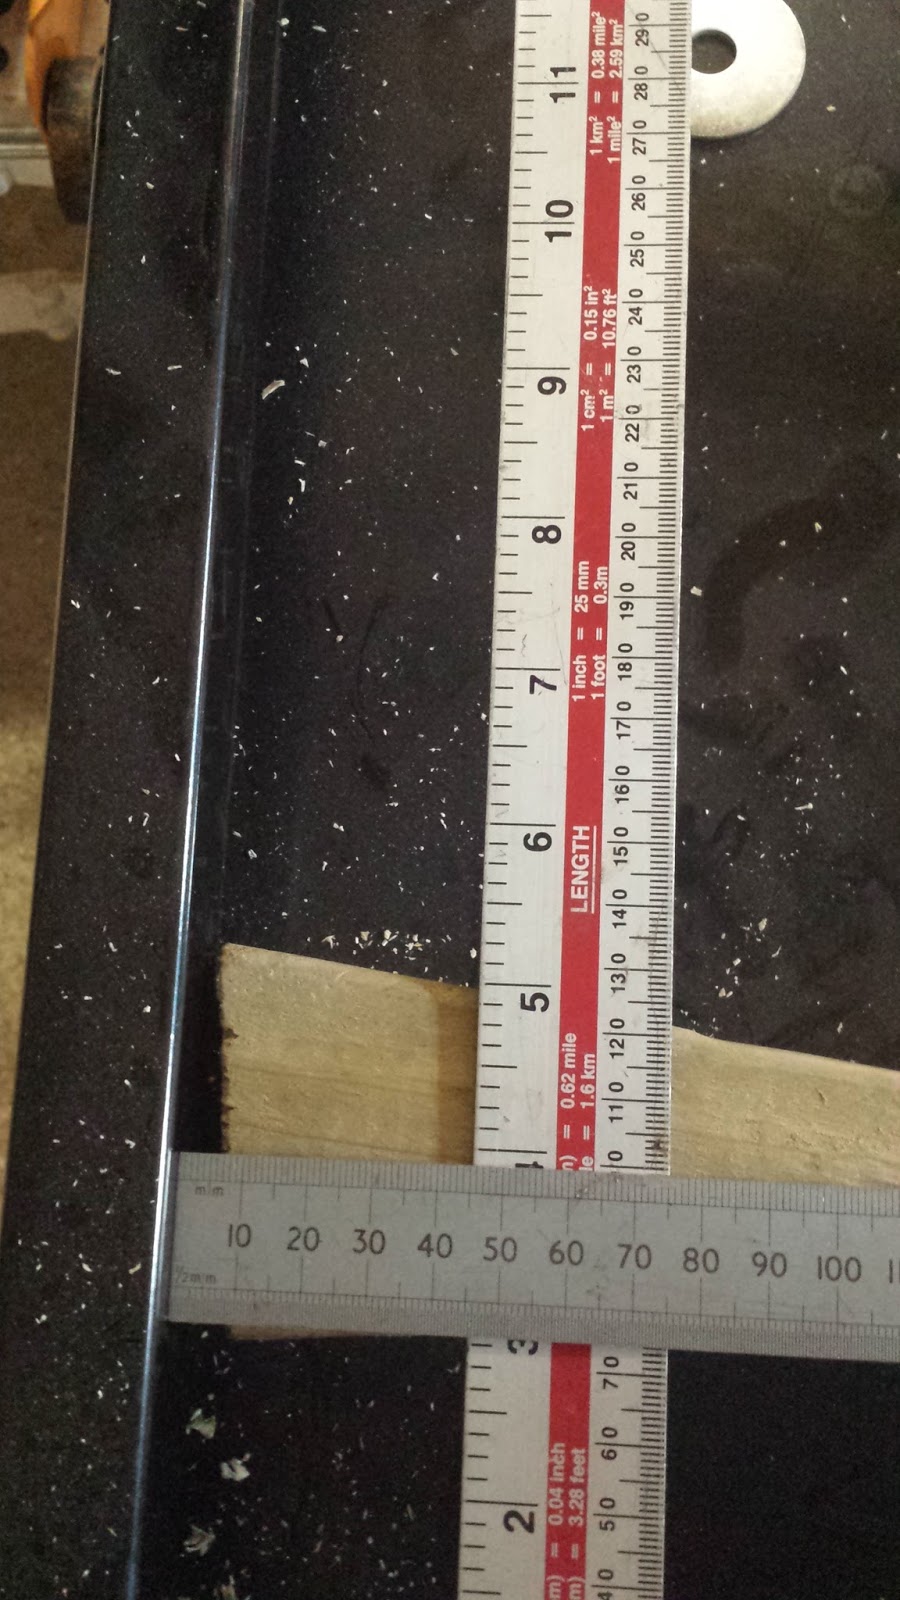
Next were the Crush Tubes. With my bench grinder i put a 1 mm chamfer on the leading edge of the tube, again to stop it shaving the bush as it entered.

TIP: Watch out for this. A light filing / grind will remove it.
You can also see the slight burr on the leading edges that i removed.

What i did then was to replace one of the vice jaws to metal.
and pressed the tube in till fully inserted. Don't wind the vice too tight, just enough so that the tube is flush or very slightly protruding and even on both sides.   P.S. I did put a smear of copper slip on the crush tube first, but didn't take a pic.

 TIP: Notice the cloth, this was to stop damage to the wishbone where it rested on the vice

This is how the finished bush should look.
P.S. I didn't have to do any trimming of the tube as previous builders have.